I remember the first time I tried to do acrylic nails at home. The liquid monomer smelled like a chemistry lab, the powder went everywhere, and I ended up with a lumpy, misshapen mess that I had to file down to my natural nail. I was so frustrated.
Then someone told me about polygel.
The first time I opened a polygel tube, I was shocked. It smelled like nothing. I squeezed a bead onto my nail, picked up my brush dipped in slip solution, and started shaping it like clay. I messed up the shape, so I wiped it off and tried again. And again. No rushing, no panic.
That moment changed everything for me.
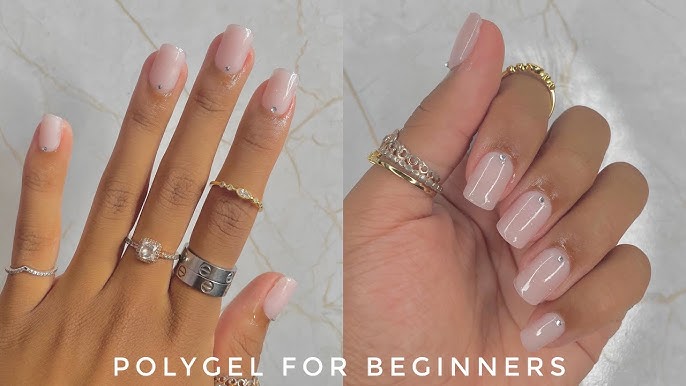
If you’ve been wanting gorgeous, durable nail extensions but felt intimidated by acrylics or builder gel, this guide is for you. Let me walk you through what polygel is, why it‘s amazing for beginners, how to apply it like a pro, and how to take it off safely.
What Is Polygel? A Hybrid That Gives You the Best of Both Worlds
Polygel is a nail enhancement product that sits right in the middle of acrylic and hard gel. Think of it as the best of both worlds. Chemically, it’s a hybrid—a mixture of acrylic polymer and gel that comes in a tube with a thick, putty-like texture. Unlike acrylic, which hardens within seconds and smells terrible, polygel stays moldable until you cure it under a UV or LED lamp.
Here’s the simple breakdown. Acrylic is strong but smelly and fast-setting. Builder gel is lightweight but can be runny and tricky to control. Polygel combines the strength of acrylic with the flexibility and odor-free application of gel, while being significantly lighter than both. Nail educator Lila Nguyen puts it perfectly: “Beginners benefit most from products that allow room for error. Polygel gives instant feedback—you see and feel the shape forming. That confidence boost matters.”
The Benefits That Make Polygel Perfect for Beginners
Polygel is often called the most beginner-friendly nail enhancement system on the market, and for good reason.
First, it’s incredibly forgiving. The putty-like consistency doesn’t run or flood your cuticles. If you apply too much, you can simply remove the excess before curing. If you mess up the shape, just wipe it off with slip solution and start over. Acrylic doesn’t give you that luxury—once it hardens, you’re stuck filing.
Second, there’s no strong odor. Traditional acrylic liquid monomer smells like a chemical factory. Polygel is virtually odor-free, which makes doing your nails at home a much more pleasant experience.
Third, it’s self-leveling. This means that after you shape it, the product naturally smooths itself out, filling in minor imperfections. One of the most frustrating things for a new nail artist is getting an uneven surface. Polygel helps solve that problem before it even starts.
Fourth, it lasts up to 21 days or more with proper application. You’re not sacrificing durability for ease of use. Finally, it’s lightweight and flexible. Polygel is about 23% lighter than acrylic and more flexible, which means it feels more natural on your fingers.
The Essential Tools and What to Look For
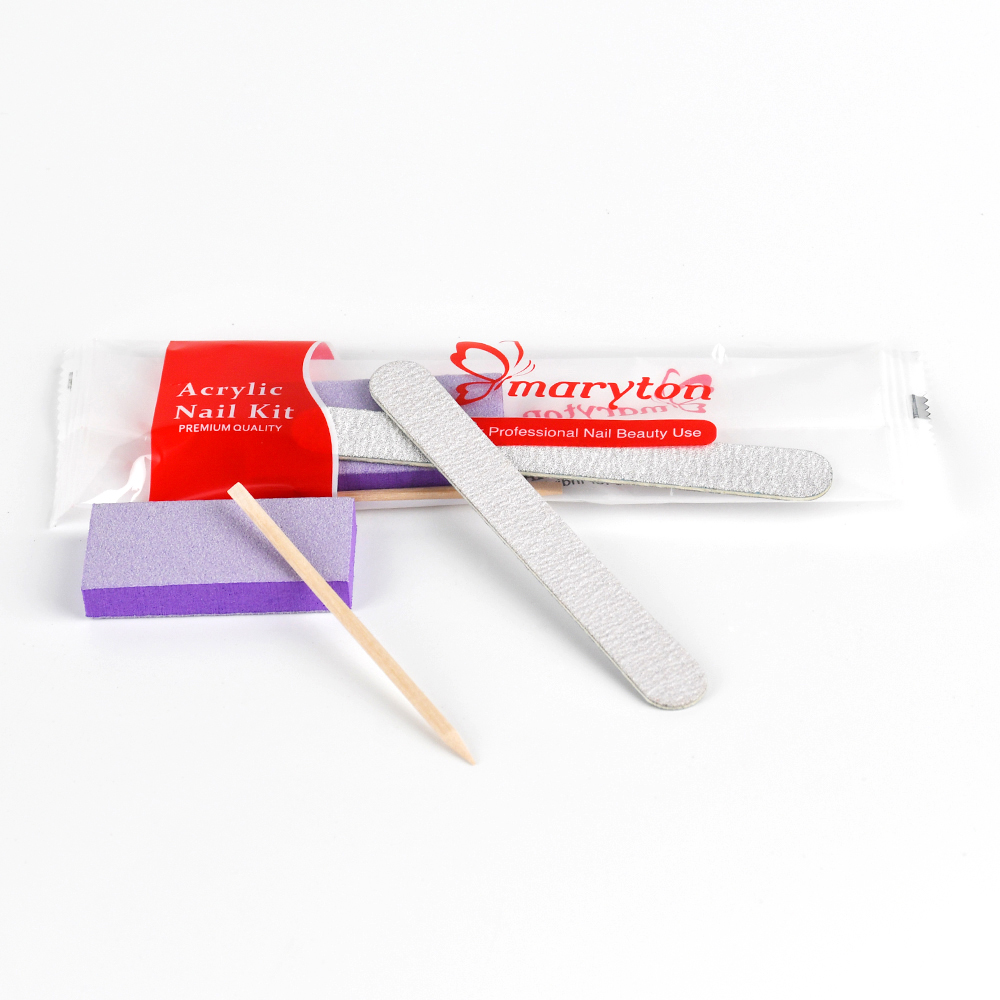
Before you start, gather the right supplies. A complete beginner’s kit should include polygel in tubes, a UV or LED lamp, slip solution, dual forms or nail forms, a base coat and top coat, a nail brush, a nail file and buffer, and cuticle oil.
When choosing your first polygel kit, look for one that includes a lamp. Most beginner kits come with a mini USB lamp, which is perfect for getting started. Make sure your polygel formula is self-leveling—this will make your life so much easier as a beginner.
Step-by-Step: How to Apply Polygel Like a Pro
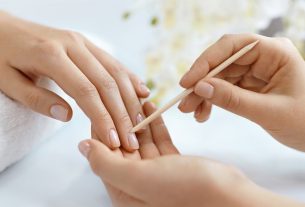
Step 1: Prep Your Natural Nails
Proper preparation is the secret to a long-lasting polygel manicure. Start by pushing back your cuticles gently with a cuticle pusher. Lightly buff the surface of each nail with a fine-grit nail file to remove shine—this creates tiny abrasions that help the product grip. Cleanse each nail thoroughly with alcohol or a nail cleanser to remove all oils and dust. Finally, apply a thin layer of base coat and cure it under your lamp according to the manufacturer’s instructions.
Step 2: Apply the Polygel
Now comes the fun part. Squeeze a small bead of polygel onto your nail or into a dual form. Dip your brush in slip solution to prevent sticking, then gently shape and spread the polygel. Take your time here—you’re working with clay-like material that won’t harden until you cure it.
The slip solution is your best friend. Keep your brush wet and use it to smooth and sculpt the polygel into your desired shape.
Step 3: Cure Under the Lamp
Once you’re happy with the shape, cure the nail under a UV or LED lamp for 60 to 90 seconds. Don’t move your hand during curing, and make sure your lamp is compatible with your polygel brand.
Step 4: Shape and File
After curing, remove the dual form (if you used one). Use a file to refine the shape, smooth the surface, and perfect the edges. This is where your nails really come to life. Then apply a top coat and cure again for a glossy finish.
A few quick tips for better results. Always apply thin layers—thinner actually means stronger. Use enough slip solution to keep the polygel from sticking to your brush. And most importantly, take your time shaping before curing. Rushing is the fastest way to ruin a good set.
Common Mistakes to Avoid
One of the biggest mistakes beginners make is skipping the prep step. If your nails aren’t clean and buffed, the polygel will lift within days. Another mistake is applying too much product. A little polygel goes a long way. Thick layers cure unevenly and look bulky. Also, don’t under-cure. If you don’t cure long enough, the polygel will remain soft and peel off. Always follow the recommended curing time for your lamp and product.
How to Remove Polygel Safely Without Damaging Your Natural Nails
Eventually, you’ll want to remove your polygel and start fresh. The golden rule is this: never, ever peel or pry polygel off your nails. Peeling removes layers of your natural nail along with the product, leading to months of weakness and recovery.
Here’s the safe, beginner-friendly soak-off method. First, use a 180-grit file to gently buff away the shiny top coat and about 80% of the polygel thickness. Be careful not to file into your natural nail. Next, saturate cotton balls with 100% pure acetone, place one on each nail, and wrap tightly with aluminum foil or use nail clips. Let them soak for 15 to 20 minutes. Warm hands help speed up the process. Unwrap one nail and gently push the softened polygel away with a wooden or silicone cuticle pusher. If it resists, rewrap and wait another 5 to 10 minutes. Never force it. Lightly buff away any remaining residue, wash your hands, and apply cuticle oil generously. Acetone is very drying, so hydration is essential.
Expect the removal process to take about 30 to 45 minutes total. Faster removal usually means more damage. The good news is that you don’t need to fully remove polygel every time. You can simply do a fill on the new growth area, which is the most gentle way to maintain fabulous nails for months.
The Bottom Line
Polygel changed my relationship with at-home nail extensions. It’s strong enough to protect my nails, flexible enough to feel natural, and forgiving enough that I don’t dread the application process. If you’re a beginner who wants gorgeous, long-lasting nails without the frustration of acrylics or builder gel, polygel is absolutely worth trying.
Start with a quality manicure kit, practice on a few fake tips first, and give yourself grace. Your first set might not be perfect. Your third set will be better. By your fifth, you’ll be amazed at what you can create.
Read also: The Complete Guide to Gel Nails: From Application to Aftercare