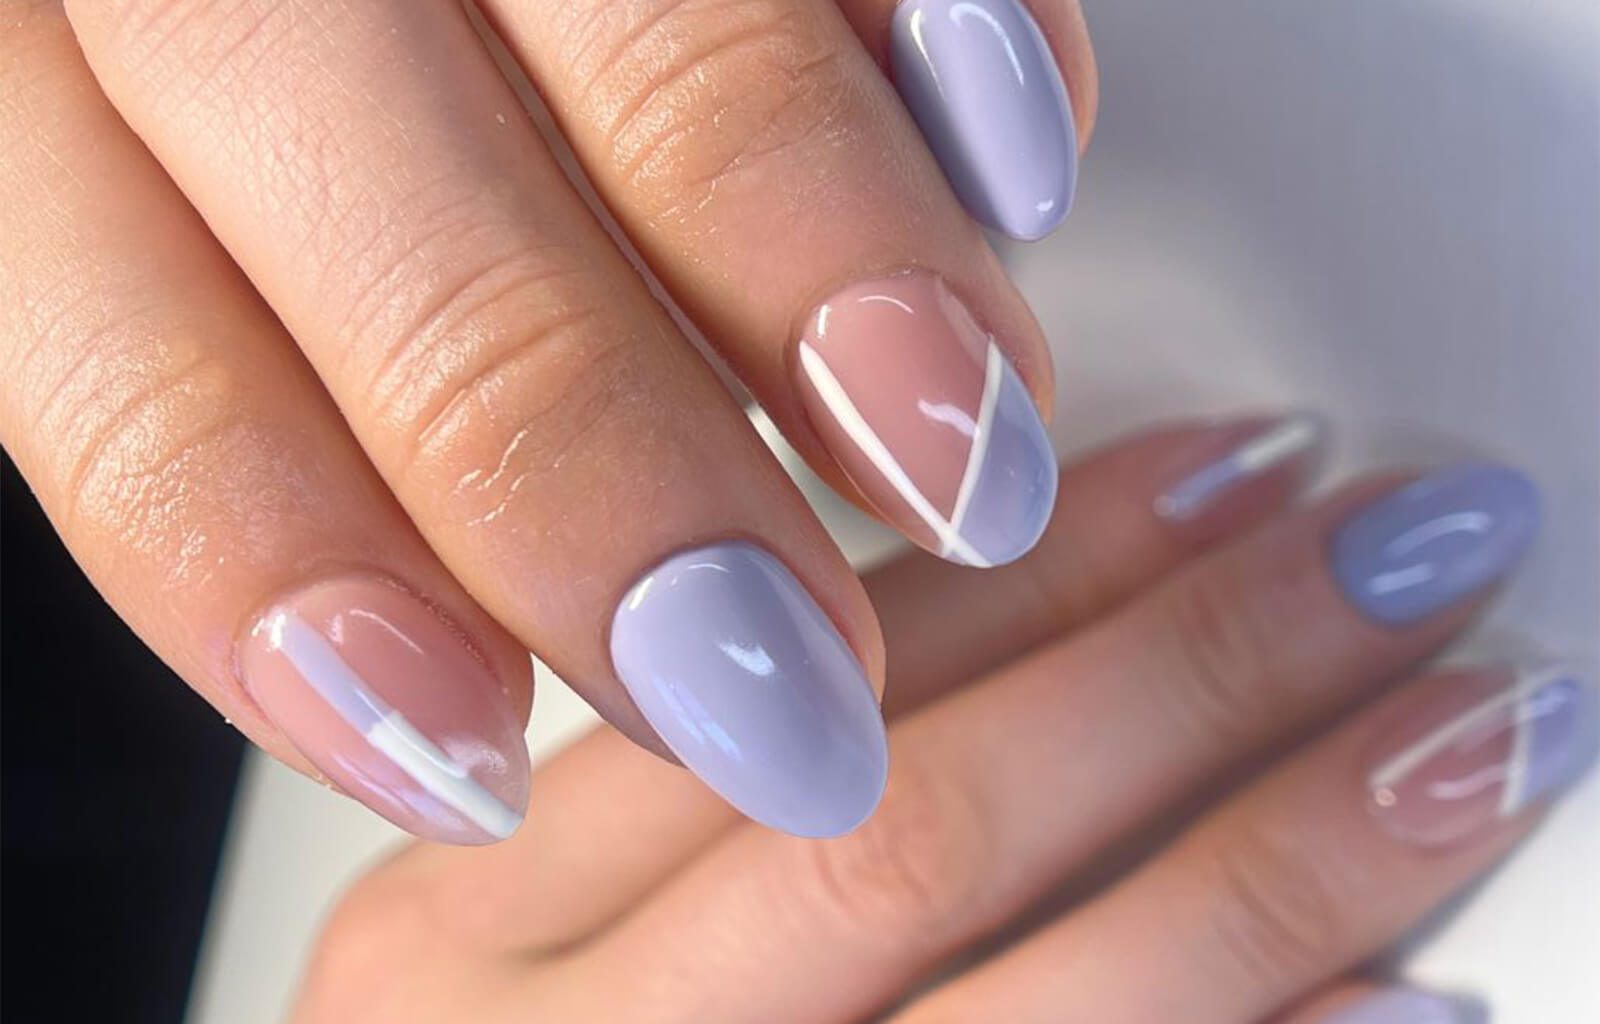
Gel nails have revolutionized the manicure world, offering a flawless, high-gloss finish that seems to defy the usual chips and scratches. But what’s the real appeal, and how can you ensure yours are perfect, long-lasting, and healthy? Let’s break it down.
Why Choose Gel Nails?
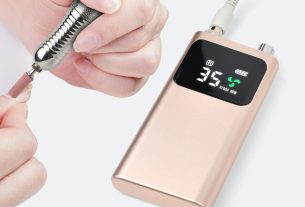
Simply put, gel nails are the gold standard for durability and aesthetics. Unlike regular polish that air-dries and remains somewhat soft, gel polish is cured under a UV or LED lamp, creating a hard, resilient shield. The result? A manicure that stays shiny and intact for two to three weeks without chipping. The gel formula is also self-leveling, making it easier to achieve a smooth, salon-like finish without streaks or bubbles. For those with weaker nails, the hardened layer can act as protective armor, allowing natural nails to grow underneath without breaking.
The Path to Perfect Gel Nails: A Step-by-Step Guide
Achieving a professional-looking gel manicure at home or in a salon requires precision. Follow these steps:
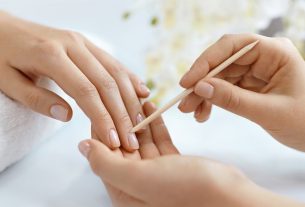
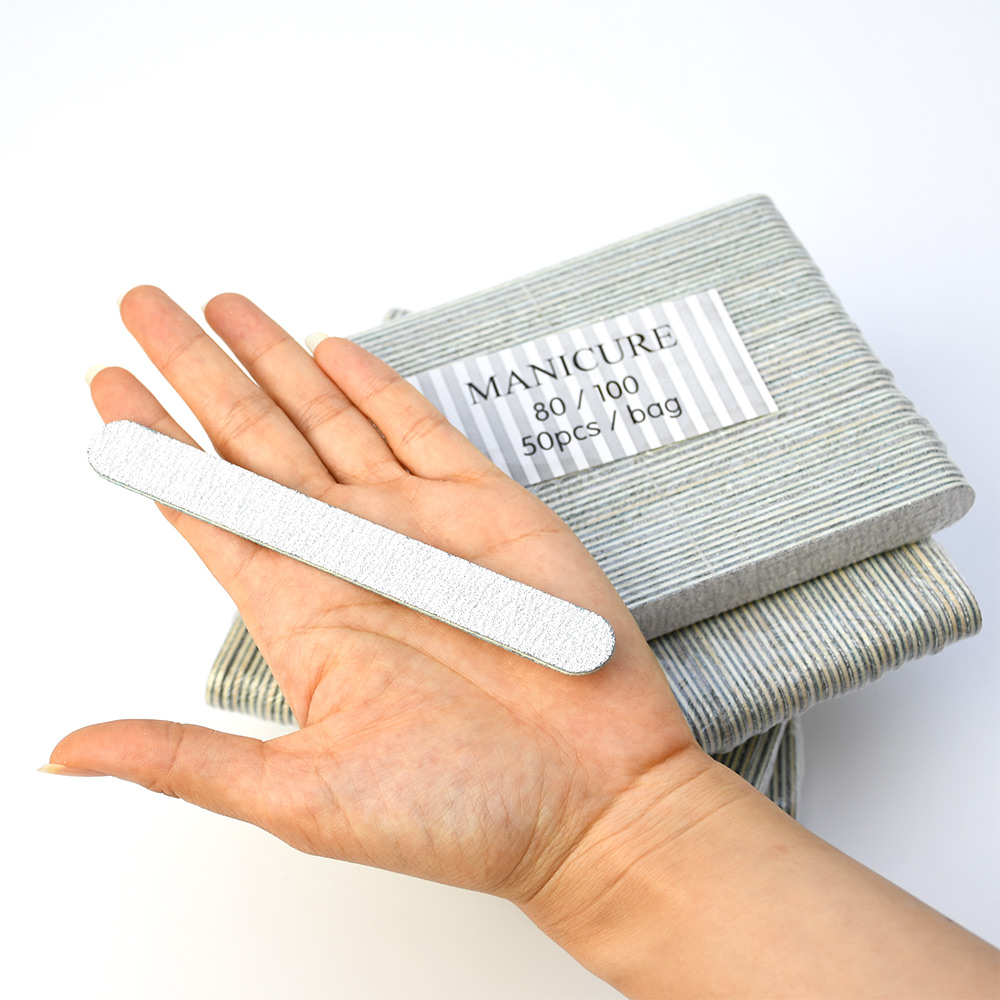
1. Prep is Paramount: Start with clean, dry nails. Gently push back cuticles and lightly buff the nail surface with a fine-grit nail file to remove shine. This creates a slightly rough texture for the gel to adhere to. Never skip this step—it’s the foundation of longevity.
2. Cleanse and Dehydrate: Wipe each nail with a lint-free pad soaked in isopropyl alcohol or a dedicated nail cleanser. This removes all dust, oils, and moisture, ensuring a pristine base.
3. Base Coat Application: Apply a thin, even layer of gel base coat, making sure to seal the free edge (the tip of the nail). Cure under the lamp for the time specified by the manufacturer (usually 30-60 seconds).
4. Color Your World: Apply your first thin layer of gel color. Thin layers are key—they cure properly and prevent wrinkling or peeling. Cap the free edge. Cure. Apply a second thin coat for opacity and cure again.
5. The Shining Finish: Apply a thin layer of gel top coat, capping the free edge once more. This layer is what gives gels their incredible shine and seals in the color. Cure thoroughly.
6. The Final Cleanse: After the final cure, a sticky “inhibition layer” may remain. Wipe each nail with alcohol on a lint-free pad to reveal the dazzling, non-tacky shine.
Making Your Gel Nails Last
To maximize your manicure’s lifespan, treat your nails with care. Wear gloves for household chores involving harsh chemicals or hot water. Avoid using your nails as tools to open cans or scrape off stickers. Regularly apply cuticle oil around the nail bed—hydrated cuticles prevent lifting and keep the nail flexible and strong. A quick reapplication of top coat every 5-7 days can also refresh the shine and seal any minor edges.
The Right Way to Remove Gel Nails
Never peel or pick off gel polish. This is the single most damaging thing you can do, as it takes layers of your natural nail plate with it, leaving them thin and weak.
The safe removal method is soaking:
1. Lightly buff the shiny top coat with a file to break the seal.
2. Soak cotton balls in pure acetone, place them on each nail, and wrap the fingertips securely in aluminum foil or use clips. Let them sit for 12-15 minutes.
3. Gently test one nail—the gel should slide off easily with light pressure from a cuticle pusher. If it’s still attached, re-wrap and soak for a few more minutes.
4. Once all gel is removed, wash your hands thoroughly.
Post-Removal Nail Care
Your nails will be dry and vulnerable after acetone. This is the critical recovery phase:
1. Hydrate Intensely: Soak your nails in a nourishing oil (like jojoba or vitamin E) for a few minutes. Massage oil into your nails and cuticles daily.
2. Buff Gently: Use a very soft nail buffer to smooth any residual roughness on the nail surface.
3. Take a Break: Give your nails at least a few days to a week to breathe and rehydrate before applying another set of gels. During this time, use a strengthening treatment or a hardener.
4. Keep Them Short: Consider keeping your natural nails trimmed short while they regain their strength.
Gel nails are a fantastic way to enjoy beautiful, durable color. By applying them meticulously, caring for them wisely, and—most importantly—removing them correctly, you can enjoy the best of both worlds: stunning manicures and healthy, strong nails underneath.
Read also: How to take care of your cuticles?