The nail drill, often called an e-file, is a powerful tool that has revolutionized the nail industry. Moving beyond simple hand files, this electric device offers precision, efficiency, and a flawless finish that is hard to achieve manually. Whether you’re a professional nail technician or an enthusiastic DIYer, understanding how to use and choose a nail drill is crucial for beautiful, healthy nails.
Application in Nail Care
An electric nail drill is far more versatile than many realize. Its primary functions include:
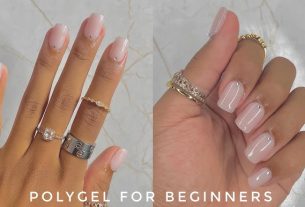
1. Preparation and Shaping: Before applying any product, the nail surface must be prepared. A nail drill gently buffs the nail plate to remove shine and create a slightly rough texture, ensuring acrylics, gels, or dip powders adhere strongly and last longer. It’s also excellent for quickly and evenly shaping the free edge of natural or artificial nails.
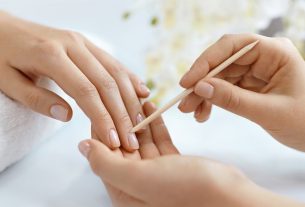
2. Cuticle Care: With a specialized safe-bit or cone-shaped carbide bit, a drill can gently push back and remove non-living cuticle tissue from the nail plate. This creates a cleaner canvas and prevents product from lifting.
3. Removing Enhancements: This is perhaps its most valued use. Instead of soaking for long periods or aggressively scraping, a drill safely and efficiently grinds down hard gel or acrylic enhancements. This drastically reduces potential damage to the natural nail underneath when done correctly.
4. Refining and Finishing: After applying enhancements, drills are used to refine the shape, smooth out bumps, and buff the surface to a high shine before the final top coat.
Key Points for Safe Usage
Mastering a nail drill requires a light touch and practice. Follow these essential tips:
- Speed Matters: Always start at a low speed (low RPM). High speeds generate friction heat and can quickly damage the nail. Increase speed gradually only if needed.
- Feather-Light Pressure: Let the drill bit do the work. Pressing too hard is the fastest way to cause painful damage, thinning the natural nail or causing burns. Gently guide the bit across the surface.
- The Right Angle: Hold the drill bit parallel to the nail surface. Avoid holding it perpendicular (pointing straight down), as this can create painful grooves and weak spots.
- Constant Motion: Never hold the spinning bit stationary in one spot. Keep it moving in gentle, sweeping motions to distribute the filing evenly and prevent heat buildup.
- Hygiene is Non-Negotiable: Bits must be properly sanitized between clients. For home users, cleaning your bits after each use prevents bacterial growth.
How to Choose the Right Nail Drill?
With many options available, selecting the right tool depends on your needs:
1. Power Source: Corded drills offer consistent, unlimited power ideal for professionals who use them all day. Cordless drills provide portability and convenience, perfect for home users or mobile technicians.
2. Power and Speed (RPM): Look for a drill with a motor that offers variable speed control, typically from about 5,000 to 30,000 RPM. This versatility allows you to handle delicate tasks and tougher jobs with one tool.
3. Noise Level: A quiet, brushless motor is a sign of higher quality and makes for a more pleasant experience for both the user and the client.
4. Forward/Reverse Function: This feature allows the bit to spin in both directions. It’s incredibly useful for working on both hands without awkward angles and for effectively removing stubborn product.
5. Comfort and Grip: The handpiece should feel comfortable and ergonomic in your hand, reducing strain during prolonged use.
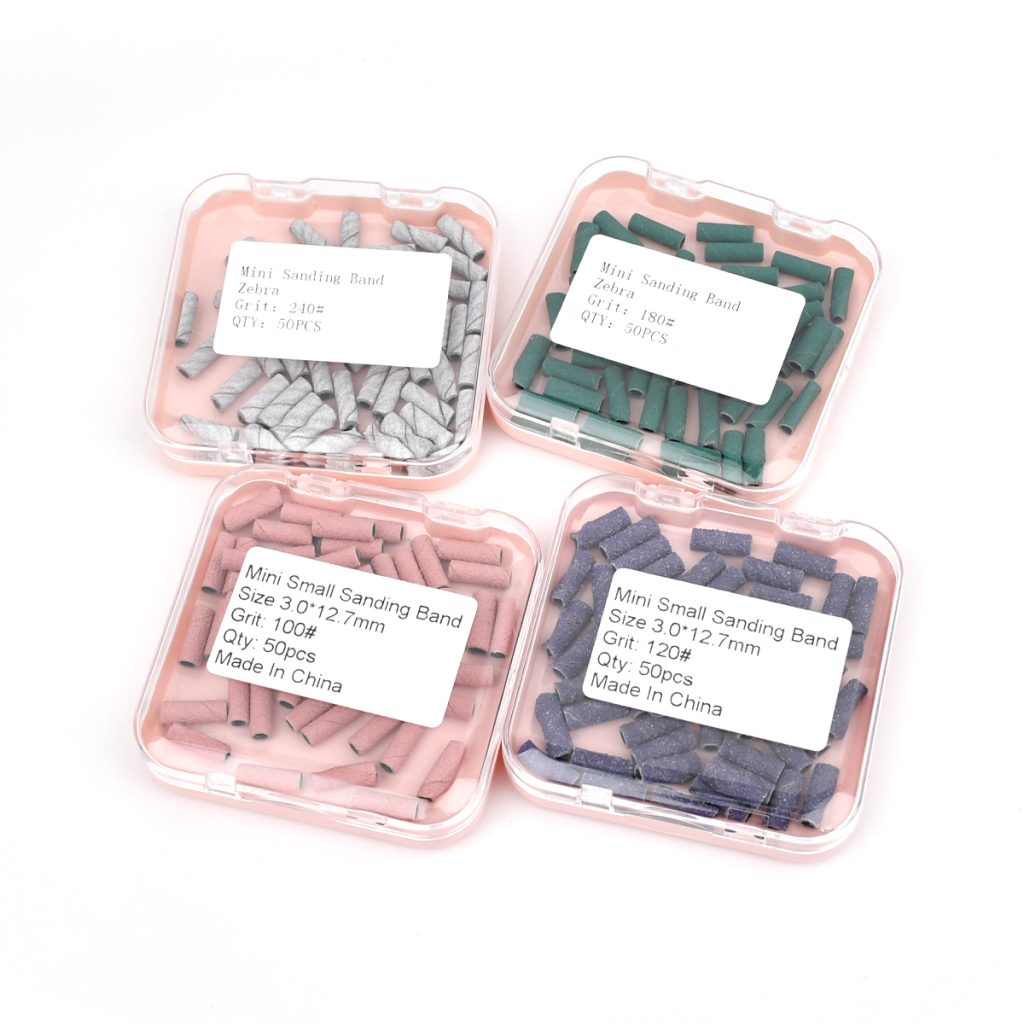
6. Bit Compatibility: Ensure the drill accepts standard 3/32-inch (2.35mm) shank bits. This is the most common size, giving you access to a vast array of affordable and specialized bits for every task.
In conclusion, the nail drill is an indispensable tool for achieving a salon-quality finish. By respecting its power, practicing proper technique, and choosing a model that fits your needs, you can unlock a new level of precision and care in your nail art routine.